Bike It
Simple Bike Check
|
|
|
|
This is sometimes referred to as the M-check as you move across your bike in an M shape, from front to back.
Things to check before you ride:
|
Mastering the Pedal Bikes
1. Lower the seat and remove the pedals
Lowering the seat and removing the pedals enables the child to scoot along on the bike with both feet. Use this opportunity to provide instruction on using the brakes.
2. Giant steps
When the child is ready, encourage them forwards for about 10 metres using giant steps.
3. Kangaroo hops
Encourage the child forwards for about 10 metres using the hops.
4. Put one pedal back on
Either left or right, it doesn’t matter. Make sure the child is comfortable on the bike and feels secure. An easy way of doing this is to get them to do a little ‘wiggle’ with the brakes on.
5. One pedal scoot
With one foot on the pedal encourage the child to scoot forwards using the other foot. Make sure they are looking up. Stop after about 10 metres.
6. Both pedals on
Put the other pedal on. Do the ‘wiggle’ (with brakes on) to show that the bike is stable and safe.
7. First go
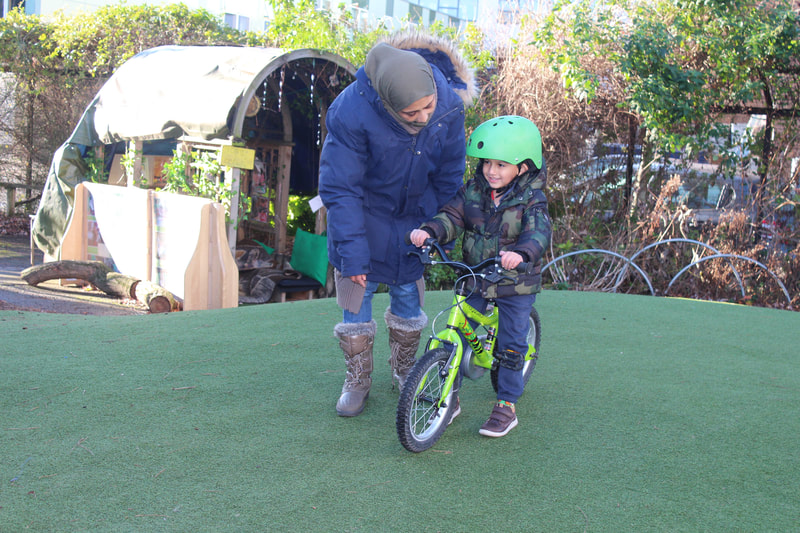
Hold the child, not the bike. Explain that you are going to hold their back and their shoulder/upper arm. Get the child to put their feet on the pedals and check that they are ready. Encourage them to look up, let go of their brakes and pedal. Walk forwards (still holding on to them) and slowly release your grip. Stop after three to five metres.
8. Second go
Do the ‘wiggle’ (with brakes on). Holding the child as before, get them to put both feet on the pedals. Encourage them to look up. If all clear, count down from three and encourage the child to let go of the brakes and pedal forwards. Let go after a few steps, then step back to exaggerate the distance they have travelled. Shout ‘stop’ after 5 - 10 metres. Now count out the paces so they can see how far they have gone.
9. Third go
This time, reduce contact with the child by gripping their clothes with one hand and holding the bike handlebars with the other. Repeat steps as before, releasing them after only a few steps and letting them ride for as long as they wish.
|
|
|
| Balance Bikes |
